DO IT IN A LAB ENVIRONMENT FIRST….ALWAYS TEST
Effected Machine: Exchange Server 2010
In this blog I will show you how to recreate Powershell Virtual Directory in a Single Exchange Server Environment.
We need to create this Powershell Virtual Directory when (this should be a last resort):
- Wrong customizations occurred
- When it gets corrupted
- Ended up in management console issues
NOTE: Admin Privilege is by default required and it is assumed that have it while you are performing admin tasks.
Again: do not run this where you have multiple exchange server installed or you might get a PowerShell error…..it’s not a big risk except PowerShell will let you know that the command already issued or exists.
First run the following command
Run Get-PowerShellVirtualDirectory

And after that run the following: just make sure it’s running the existing “PowerShellVirtualDirectory”
Run Get-PowerShellVirtualDirectory | Fl Server,Id*
And pull the identity of the server by running the following command:

Now since you got the identity of the sever, run the following command: While typing use the TAB key on your keyboard to finalize the command; rather typing it all.
Remove-PowerShellVirtualDirectory "Exchange2010\PowerShell (Default Web Site)"
As you can see the above command will remove the existing PowerShell Virtual Directory. Hit the YES for the confirmation, and run the following command:
New-PowerShellVirtualDirectory -Name Powershell -RequireSSL:$False
And the new PowerShell Virtual Directory is created, and finally run the iisreset command to finalize settings be in effect.
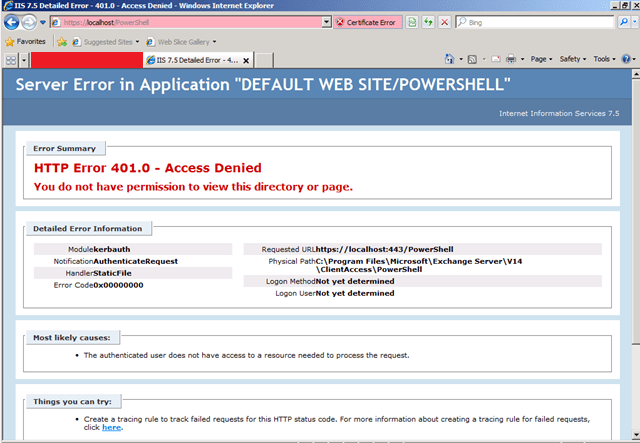
Default Web Site for the PowerShell should give you an access denied page — 401.0 server error, and at this point you are all done done.